
A thoughtful gift does not have to be expensive to leave a lasting impression. On Teacher’s Day, many students and parents look for something that feels personal rather than picked off a store shelf at the last minute. A handmade teacher’s day candle is one of those gifts that combines creativity with appreciation in a simple way.
Making your own candle also gives you the chance to add colors, scents, and small details that match the teacher’s personality. If you have never tried making candles before, do not worry. The process is easier than it seems, and with a little patience, you can create something memorable. This guide walks through each step so you can make a meaningful teacher appreciation gift from start to finish.
Creating a candle at home is more about planning than experience. Once you gather the right supplies and follow each stage carefully, the project comes together naturally. You can keep it simple or add decorative touches depending on the look you want.
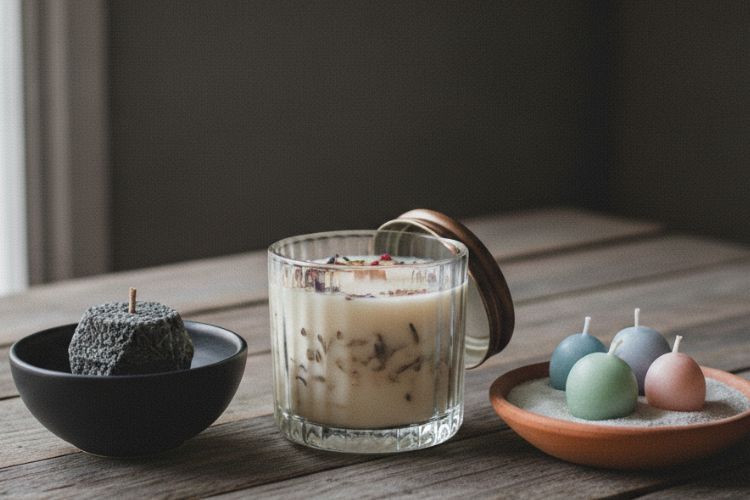
Start by deciding what kind of candle you want to make. A clear glass jar works well because it looks clean and is easy to decorate. Small ceramic containers or metal tins are also popular choices.
Think about the teacher who will receive it. Someone who likes modern décor may enjoy a minimal design, while another person may appreciate dried flowers or soft pastel colors. If you are looking for inspiration, browsing a collection of teachers’ day candle gift ideas can help you settle on a style before buying materials.
This is also a good time to choose whether your teacher gift candle will be scented or unscented. Mild fragrances are usually a safe choice because they are pleasant without being overwhelming.
Once you know the style, collect everything you need before melting any wax. Having supplies ready keeps the process smooth and reduces mistakes.
For most beginners, the list includes soy wax or another preferred wax, a wick, fragrance oil, a heat-resistant container, a pouring pitcher, and a stirring utensil. You can also prepare ribbons, labels, or pressed flowers if you want to decorate the finished piece.
Many first-time makers discover that following a reliable candle tutorial helps them understand measurements and temperatures before they begin. Watching or reading one beforehand can save time later.
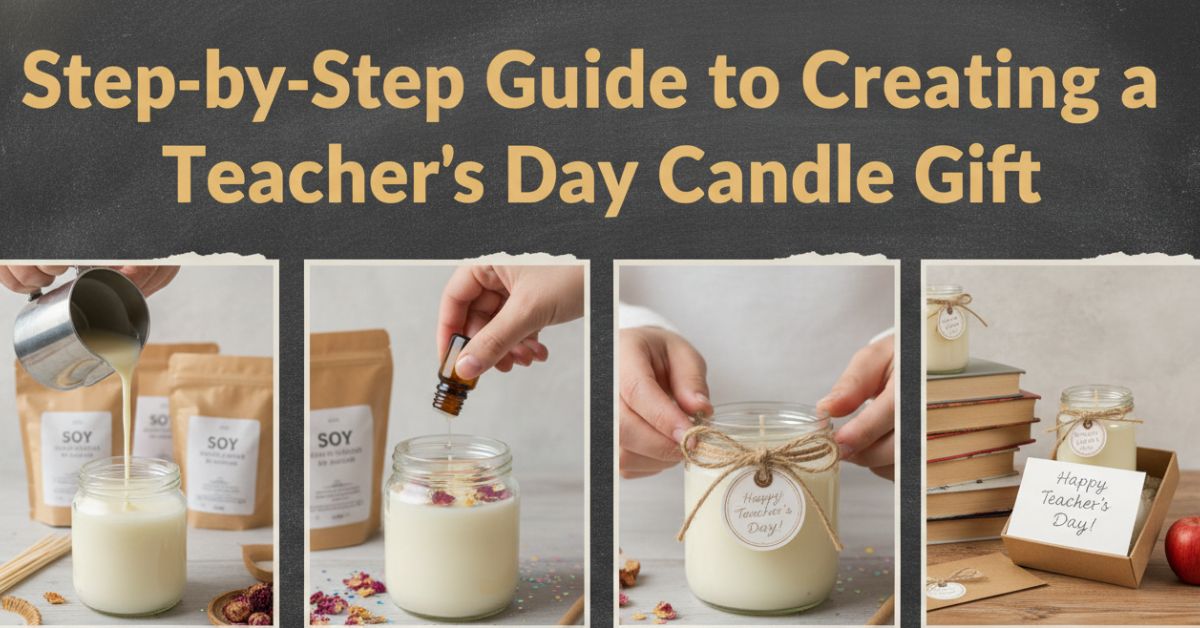
Now comes the part where the candle starts taking shape. Melt the wax slowly using a double boiler or another safe heating method. Rushing this step can affect the final texture.
Once the wax gets to the right temperature, add in your preferred aroma. A soft aroma of vanilla, lavender, or cotton is best for a teacher’s day candle since it is soothing and inviting. To achieve color in the candle, you can also add some coloring in tiny amounts.
There is no need to overcomplicate the design. A clean finish often feels more thoughtful than adding too many decorations.
Before pouring, attach the wick securely to the center of the container. This helps the candle burn evenly after it sets.
Pour the molten wax gradually without allowing any air bubbles to form. After filling the mold, keep it in place by placing it on a flat surface and refraining from handling it. This is important since moving it prematurely could cause cracks and rough surfaces.
Many people enjoy making candles because this stage feels rewarding. The liquid mixture slowly becomes something that is ready to give away.
Cooling takes time, so let the candle sit undisturbed until it hardens completely. Depending on the wax type and container size, this could take several hours.
Once fully set, trim the wick to an appropriate length. This simple step improves both appearance and performance. If the surface has small imperfections, gentle warming can help smooth them out.
The finished teacher gift candle should look neat without needing elaborate decorations. Sometimes simplicity leaves the strongest impression.
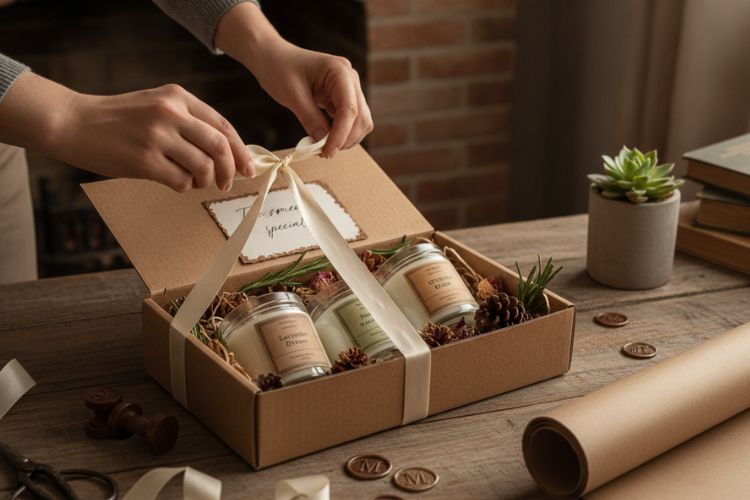
The act of presentation influences the perception of how an object feels when touched. You can wrap the candle with Kraft paper, enclose it in a gift box, or tie it with a ribbon. In order to make the gift more personalized, you could attach a handwritten thank-you note.
If you are still deciding how to complete the present, exploring different teacher gift ideas can help you pair the candle with a bookmark, tea sachets, or a small card without making the gift feel excessive. You might also attach a custom label with the teacher’s name or a short message. Small details like these make a teacher’s day candle feel one of a kind.
The most meaningful gifts are often the ones made with care rather than money. A handmade teacher’s day candle is a simple way to show gratitude and recognize the time, patience, and support that teachers give throughout the year. It is not just a candle. It carries the thought and effort you put into creating it.
Even if you are new to making candles, the process is straightforward and enjoyable. Take your time, choose details that reflect your teacher’s personality, and focus on creating something genuine. If you would rather personalize a professionally crafted piece or need inspiration for beautifully designed candle gifts, BK Crafts provides a collection of handmade options that can help you celebrate Teacher’s Day with a thoughtful touch.